
Power back up will never a big challenge anymore, especially with solar panels and generators. The case of generators, however, is not as good as using solar power. You will have to stay at one point charging your batteries with a generator.
The generator will also make noise especially if you are a fan of camping in game parks and public places. I would not wish to add any noise in such places!
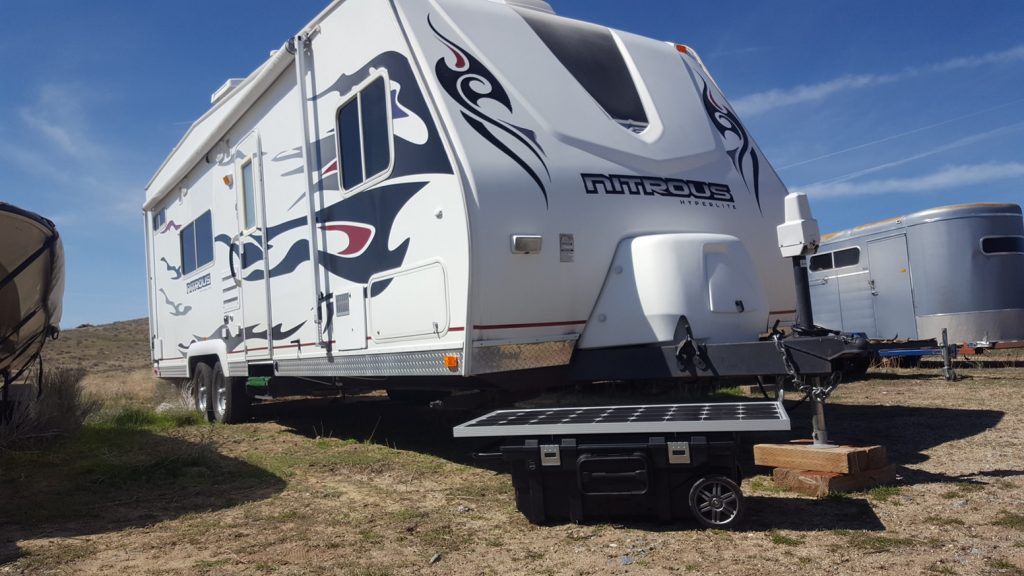
The portable solar system comes in handy as you only have to pull your panels out to the sun and connect your batteries. You can move around while charging your batteries and station later in your residence.
So, how do we go about a portable solar system? Now that we know it’s the best option, there is the best approach to have a system which will satisfy you. Remember there is a cost involved in installing the portable solar system so you need to follow these steps in order to get the best return.

source: electrek.co
Step 1: How much power do you need?
The power needs will definitely determine what power source you need. That is, you will need a solar panel which can supply enough power for your appliances. A 200-400 Watts solar panel will be enough for average RV appliances if the sun will shine as expected.
With 200 Watts as the minimum, it will satisfy basic needs like light bulbs, a radio, and a refrigerator. You will, however, need close to 4 Watts to take you through if you need to add more appliances.
Step 2: get to know the basics of system design
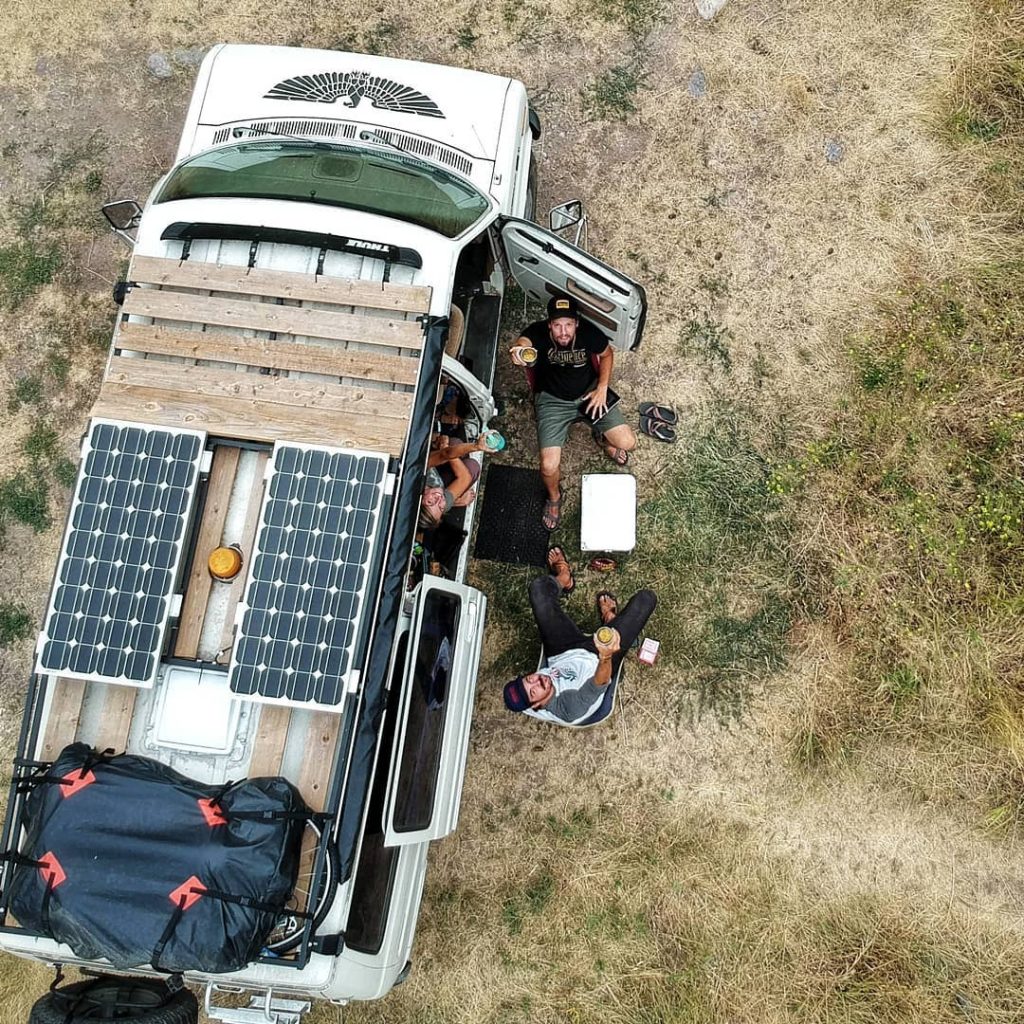
You will need enough solar panels, conductors (wires), a charge controller, a fuse box with fuses and enough batteries for the power you need. The number of solar panels will be determined by your load as in step one and therefore you can add more to the portable solar system when testing.
source: kickstarter.com
Panels will be set outside your coach, connected to a charge controller inside the coach then to your batteries. That’s a complete system set up, Check out this link for more info.
Step 3: choose the components to use while considering quality and budget
While being sensitive on your budget, you should also ensure that the system is of good quality and will perform as required. A 200-watt system could go for less than $300. When we go for components of higher efficiency, the budget could shoot up to slightly less than $400.
Clearly, high-quality components will add on the cost so plan accordingly.
Step 4: assembly
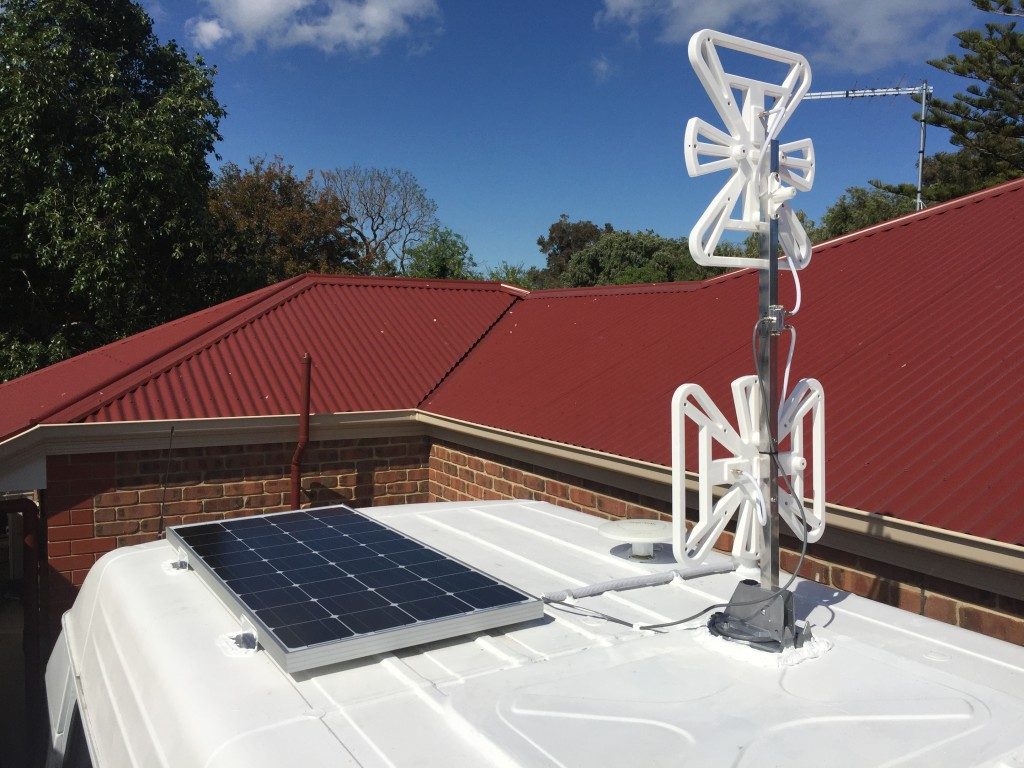
Solar panels are to be used outside and in apposition where they can get along sunlight exposure. You will need to make a frame for easier movement of your panels, an aluminum frame will be okay. Make a bad where you will place your panels while moving. You should use a shock absorbing material.
source: parkedinparadise.com
Charge controllers should be placed inside the truck, they are not waterproof. They should be in an easily accessible place near other appliances.
Step 5: confirm and test your system
After you have placed all your components well. You will need to connect the solar panel output wires to charge controller then the to your battery banks. Place your solar panels where they can receive sunlight and use the digital displace on charge controller to monitor charging.
Conclusion
source: extremeautomarine.com.au

