Owning a personal vehicle does not begin and start at purchasing it and driving it every day. Similarly, caring for one and maintaining it cannot only involve parking it in the shade and washing it every once in a while. If you have your own set of wheels that helps you get out and about and reach places too far away for public transport and walking, you have to realize that it is a luxury and more than enough reason to properly maintain it so that it lasts you for a long time. Some people think that cars are too much trouble to own and that there are always things to fix, repair, clean, or replace. Well, that could be true but only if the owner fails to do things on time and allows their car to fall into disrepair before taking action. If you do everything as you should and on time, there will be nothing but good experiences with your own personal four-wheeler.
Doing the Work
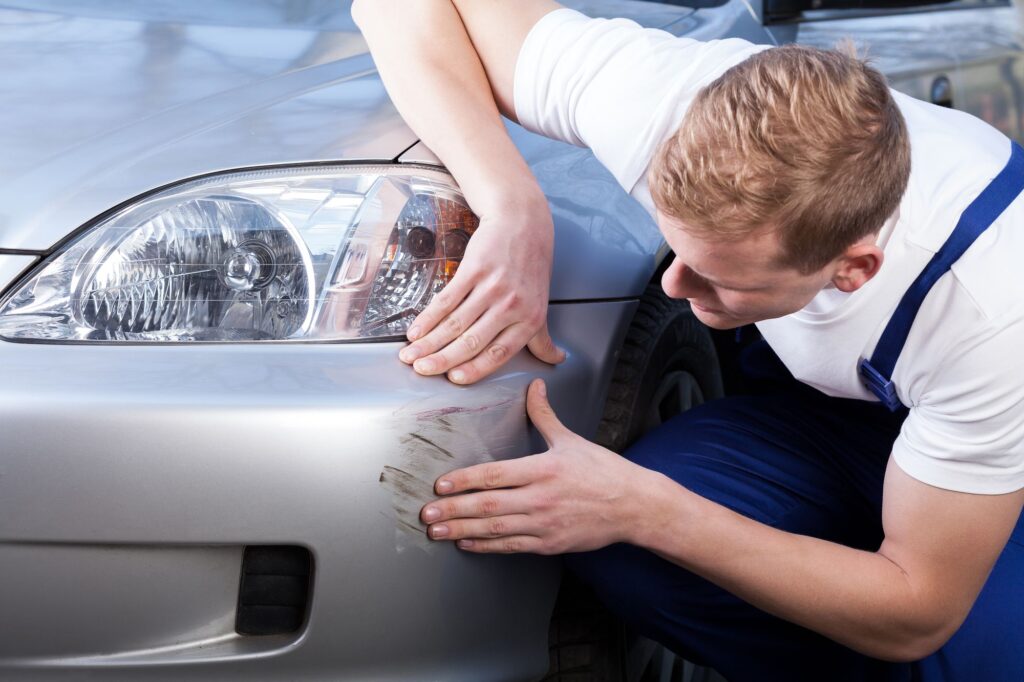
Source: wrench.com
But how does one begin to do this and what are some of the more important things to make sure of? Surely there is a lot to do and most of the work is out of the skill level of an average driver? That could be true, but only for the major servicing and inspections that require the aid of professional mechanics and service men. Minor things are easy enough to be done by virtually anyone since all it takes is a little bit of good will and dedication. For example, oil changes, sparkplug replacement, and thorough cleaning of the interior and proper washing of the exterior are all things that you can do in your own time and not only save money but connect with your car more.
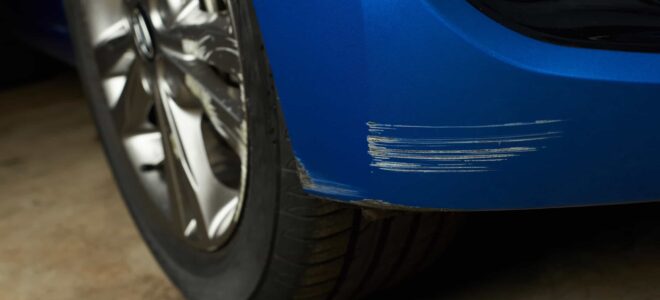
However, this is hardly everything that a car needs in order to drive and look well. There is more to it as every aspect of the vehicle needs to come together before it is in optimal shape to be driven. One other thing is much easier than people think, and that is removing scratches from the car without a polisher. It may sound impossible but it is actually quite common and straightforward. Scratches may seem like a minor issue but if left unchecked and untreated they can lead to much more serious problems with the exterior of any car. In this article we talk about this in greater detail so stick with us. If you still end up needing professional help with your car maintenance, for example with paint correction or ceramic coating, make sure to check out car detailing Houston.
Using Toothpaste
Yes, you read that right, do not worry. You can indeed use an everyday household item like toothpaste to take care of surface scratches on your vehicle. What is more, it is fairly easy to do this. You start by running your fingernails over the scratches to confirm that they are indeed on the surface and not deeper. Toothpaste will work only if your fingernail does not catch the scratches. If it does, they are too deep.
When you have identified all the minor ones, wash the car entirely and dry it with a clean towel. Apply toothpaste onto a dampened microfiber cloth so as not to damage the area even more. Make sure to use white toothpaste if you have it as it works best. Rub it in with circular motions and spread the toothpaste evenly.
After you have done this, wash off excess toothpaste from the area. You can spray the car and use a wet towel to do so. If some of the scratches are still visible, you can repeat the entire process once or twice. If the scratches remain even after a total of three times, do not do it anymore as it may damage the paint coat. The scratches are probably too deep if it did not seem to give any results after several repeating tries..
Sanding and Waxing
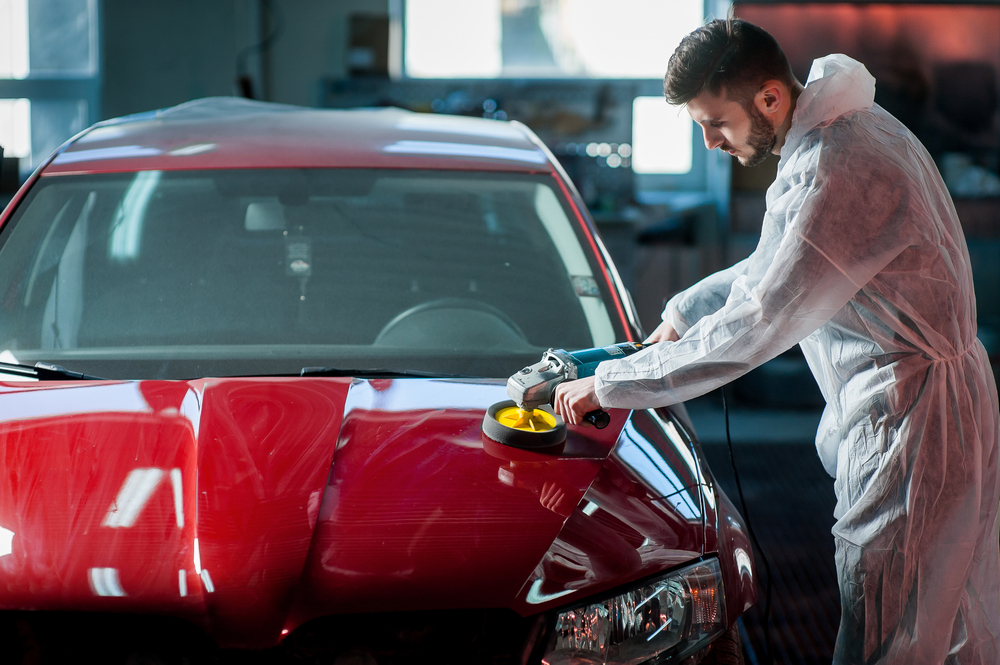
Source: washmenow.ca
For deeper scratches, like those that you cannot effectively take care of with toothpaste for example, require a bit more work. Start by washing and drying the car thoroughly, like you would to make it shiny and spotless. This is important because dirt, dust, and debris residue can hamper the sanding process and do more harm.
The next part involves sanding the scratched area and stripping away the top paint layers from the coat. You can use 2000 grit wet dry sandpaper for this and sand away using a sanding pad. In intervals of 10 to 15 seconds sand the area until you cannot see the scratches any longer.
Always sand in the same direction of the scratch so as not to create opposing scratches and make things worse. As you are doing this, rinse the area to see where the bottom of the scratch is and not sand too deep. Switch to 1500 grit if it is deeper to first level the area, and then the 2000 grit.
Next up is rinsing and drying the entire area of sanding debris. Wash the car with water and use a clean microfiber cloth to dry it. Next, spray several coats of primer onto the sanded area. Wait for it to dry and then repeat the process for a total of three times. It is important to pick a primer that closely resembles the color of the paint coat on your vehicle.
Speaking of the paint, coating the area a few times is the next step. Spray the paint, allow it to dry for some five to ten minutes, and repeat the process. Regarding the right paint, check the driver’s manual or get in touch with the manufacturer to learn the exact shade of the paint. Auto supply stores and garages usually have many so these would be the best places to shop for one.
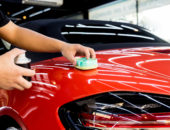
Last but not least, you need to wax the car so that the newly painted places are sealed and protected. Do not try to save on car wax and use a high-quality product here to achieve the best possible results. Waxing kits include everything, from the wax itself and a buffing pad to the right type of cloth. Use circular motions and medium pressure for this and keep doing it until all the wax distributes evenly and the entire car looks shiny.

