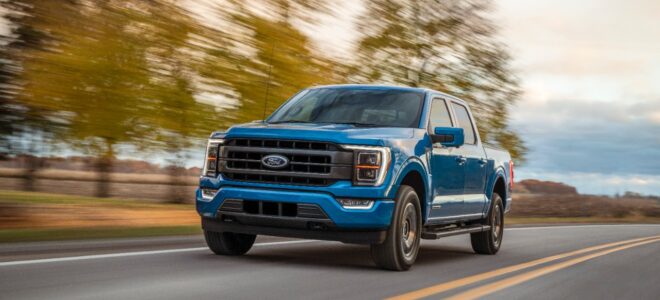
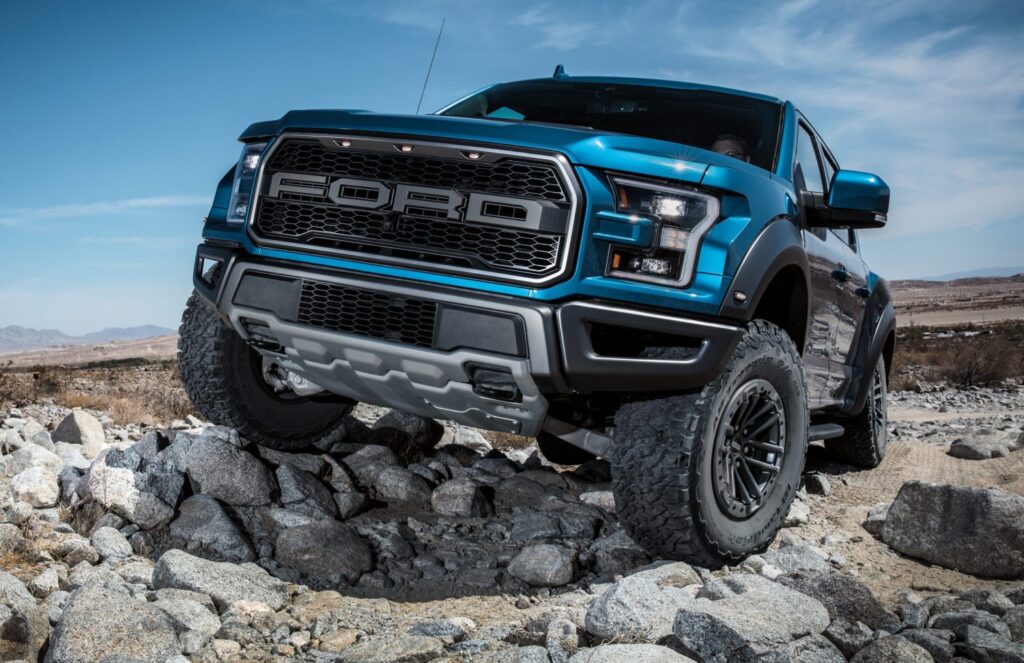
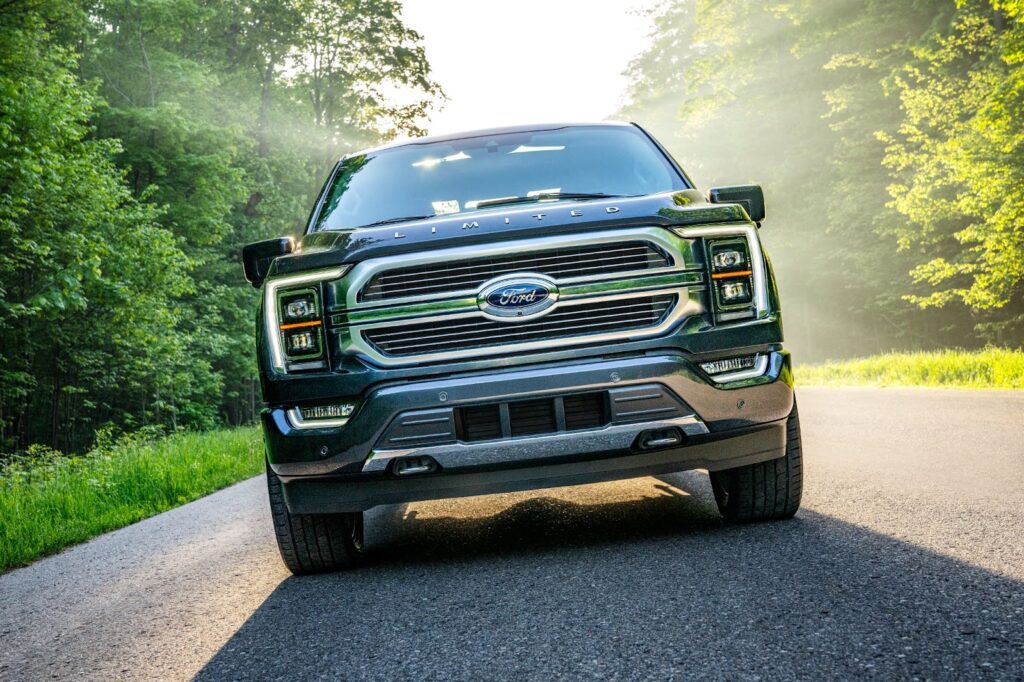
The front center area of the F150 car’s fascia is the grille. It is not a component of the hood or body panels. It allows outer air to cool the engine by departing via the F150’s radiator. In addition to that, you can find the brand’s emblem on the grille.
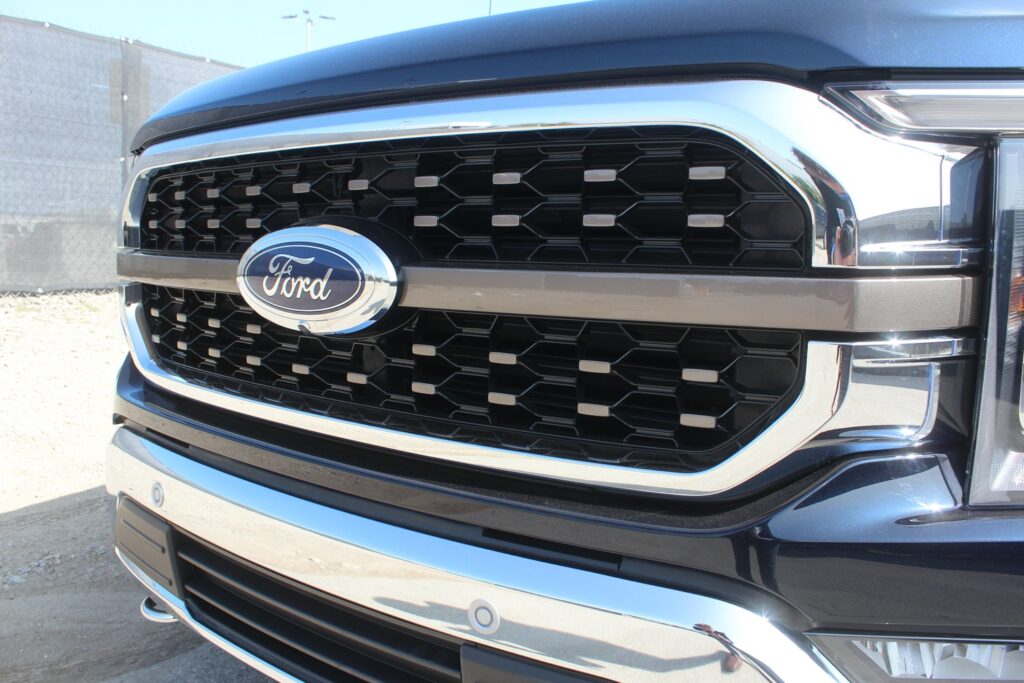
If you have a Ford F150 2004 and up, you can see two grilles at the front part of the car. They are relatively upper grille and lower grille. The topside grille is the primary grille, and it combines style and function (cooling). Meanwhile, the low-side positioned grille is for decorative purposes.
In order to maintain the look even and fresh, if you opt to change the grilles with aftermarket ones, you have to replace the other grille with a matching design grille. For more information about the grill on your Ford F150, make sure to check it here.
Why Do You Have To Change The Grill On Your Ford’s F150?
Source: fordauthority.com
The grille styles for the Ford F150 range widely. For instance, they are available in different categories, such as mesh grille, billet grille, raptor grille, LED/light bars grille, and bar grille. There are plenty of reasons people opt to change the grill on the Ford F150’s. Here we have listed the most common reasons:
- It is one of the simplest approach to enhance the overall appearance of your car.
- It has the potential to provide enhanced lighting or cooling/airflow, based on the style.
- It gives your truck a unique look, and you can make it customized.
- OEM fit parts can be used to change broken or scraped stock parts.
Step By Step Guide To Change The Grill On Your Ford’s F150
Here are brief step-by-step instructions you can follow to change the grill on your Ford’s F150 quickly without any delay. Make sure to follow them in order to make sure everything is safe.
Step 1: Pulling the jack bar
First of all, you have to remove the grille surround piece. For that, keep in mind to take out the jack bar present on top of the radiator.
Source: musclecarsandtrucks.com
Step 2: Taking out the screws.
Take out the screws from the cover of the radiator. As they are made of plastic, you can easily remove time with a hand screwdriver. If you feel that a few screws are not unscrewed, it is best to apply upper pressure using a flathead screwdriver.
If you can not get them out, you can break them off. In addition to that, you can simply set every screw back in its position by hand pressure, even without using a screwdriver. If you want, you can also replace them with high-quality and sturdy metal screws.
Step 3: Bring out the parking lights at the corner.
Next, you would have to eliminate the corner parking lights. They are kept in place by a single star screw from the inside of the lid. If you do not possess the necessary tools, it is better to use a small flathead.
Step 4: Removing the screws again
You need to pull out the screws that clench on the surrounding part of the grille body. Maximum screws are located at the upper side beneath the radiator cover you have discarded. Besides that, you can find another two at the back of the corner lights you have taken out.
Step 5: Removing the pins
A plastic shroud is attached to the grille body by plastic pins that are easy to insert but difficult to remove. With the help of a flat head screwdriver, make sure to remove those two of them from the sides that connect to the fender. Even though the pins may become screwed up, you can use them right after in most cases.
Only two from each side have to be removed. Keep in mind not to take out the pegs in the middle of the surround. If the pins are mutilated, and if the bumper is scraped slightly, it is better to reinstall them successfully.
Source: wendlefordsales.com
Step 6: Removal of grille clip
You can find two long parts attaching the underside of the grille surround to a component of the frame in the bottom center side of the grille surround. It is kept in place by a clip that you have to disclose by squeezing.
You must enter the back of the grills and grab the small plastic clips upwards. After that, pluck the grille surround towards the out from the truck.
Step 7: Taking out the whole grille surround.
At this point, you can clearly eliminate the entire grille surround, including the grille.
Step 8: Pulling the grille from the grille surround body.
In order to do this, you have to put some effective lube to the plastic hooks which are responsible for holding the grille. After that, you can break open the clips with the help of a flat head screwdriver. Remember to be cautious as the clips have the tendency to crack if you poke harshly.
Step 9: Putting the new grille
After you are done taking out the clips, you have to pull the Ford oval. Then, insert on the new grille, which you want to add to the car.
Step 10: Adding lube
Now, you can add extra lube to the fresh grille part, making it simple to install it on the grille surround. This step is not compulsory, but the entire process will be easier if you follow this step.

Source: royaltycore.com
Step 11: Inserting the grille surround
Prior to inserting the new grille back on the car, it is better to check it twice to thrice to see if the clips are fit. Make sure not to remove it again. Then, you can set all the components in reverse order.
Bottom Line
We have thought of creating this guide on changing the grill on your Fords F150 as several users were not able to do it successfully and safely. Hence, make sure to follow this guide to change or replace the grill on your car.

