If you are trying to learn how to tint the windows of your car, you are in luck! Check out this guide to tinting car windows.
Tinting car windows is a tricky job, but if you have the right tools, it’s a job you can do from the comfort of your own garage.
But be careful. Make sure you’re following the right tinting laws in your state, and make sure you know what you’re doing. Otherwise, you could end up with ugly windows—or worse, a ticket!
We’ve put together this guide to help walk you through the tinting process.
So let’s get started!
What You’ll Need
img source: ytimg.com
The first step of the tinting process is gathering the right tools. You’ll probably already have most of these things lying around the house, but you can also find them at most any home improvement or hardware store.
Here’s what you’ll need:
● Soapy water
● Razor blade
● Lint-free cloth
● Scraper blade
● Heat Gun
● Squeegee (optional)
You’ll also need window-tint film, which you can buy at a variety of auto stores. Don’t let the price of the film scare you off. Tinting your car windows gives you a lot of benefits. You can check out these reasons to learn more.
Find a Clean and Protected Workspace
img source: pinimg.com
Once you have all your supplies gathered, you need to set up a workspace.
Any area you pick should be clean, dry, and protected from the wind. If you can, do the project in the shelter of your garage.
Trying to tint outside—even on a nice day—is risky. Just a small breeze can blow sand or dirt onto your car windows. If this debris gets stuck under your film, you’ll have to live with bumps and bubbles on your window.
This isn’t only unattractive, but it can also make it harder to see while on the road. It’s always better to do this project inside if you can.
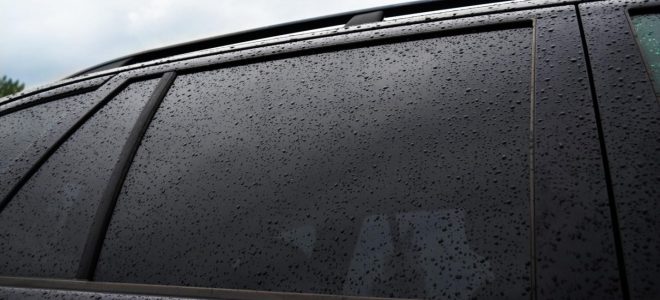
Start By Cleaning Your Window
img source: mirandamade.com
Take any stickers of other adhesives off your window. Then spray a coat of soapy water over it. Take your razor blade and gently scrape away any dirt, dust, or other debris.
You might want to repeat this process a few times to ensure the glass is clean. And make sure you wash both the inside and the outside of the window.
Why?
While the film will end up on the inside of the window, it’s easier to measure and cut it to the right size on the outside.
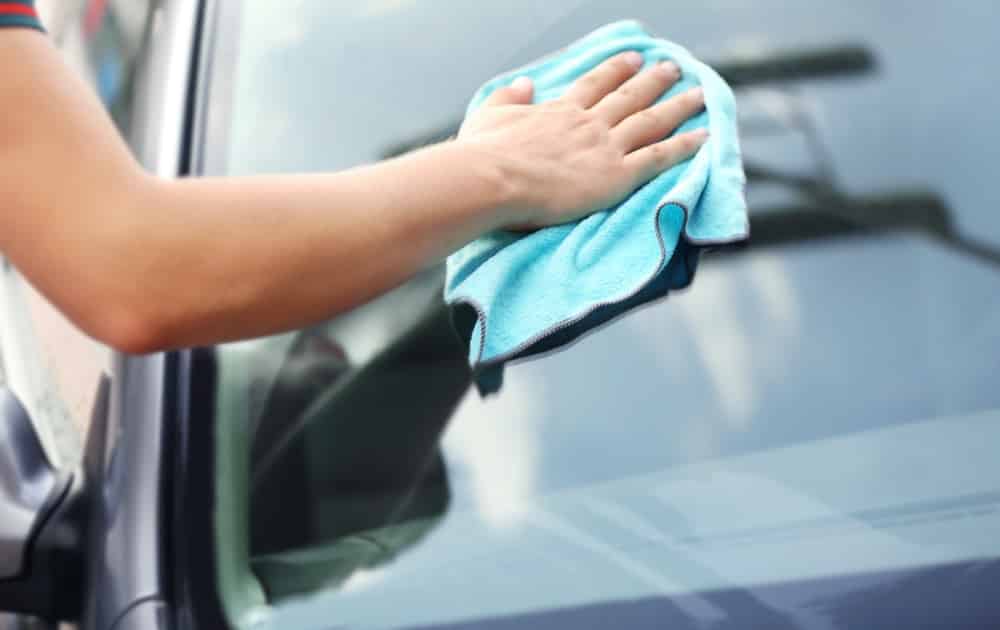
After you finish washing the glass, dry it with a lint-free cloth. This will ensure no fuzzles stick to the glass.
Turn Your Car On
Turn on your car—but leave the brakes on! You’ll need to roll your window up and down a few times as you work.
How to Measure and Cut the Film

img source: podcastscience.fm
Start by cutting a large section of film approximately the size of your window off the roll. You’ll want a few extra inches of the film on each side.
This film will have an adhesive side (kind of like a sticker). Make sure the adhesive side is facing you as you work.
Spray another layer of soapy water on the outside of your window and put the film on top. The water will help the film stick to the glass but will also let you adjust it to the right place.
Once your film has temporarily adhered to the window, spray another layer of soapy water on top of it. Then use your razor blade to cut the bottom and the left side to the right size.
Use your squeegee or your scraper blade to make sure the film is flat against the window. Pull the left side (the side you just cut) so there’s about an inch of the extra film on that side.
Then use your razor blade to cut the right side. Now pull the right side back over so there’s about a half-inch of the extra film on either side.
Repeat this process with the top and the bottom of the film. Don’t forget to roll down the window before you cut the top side.
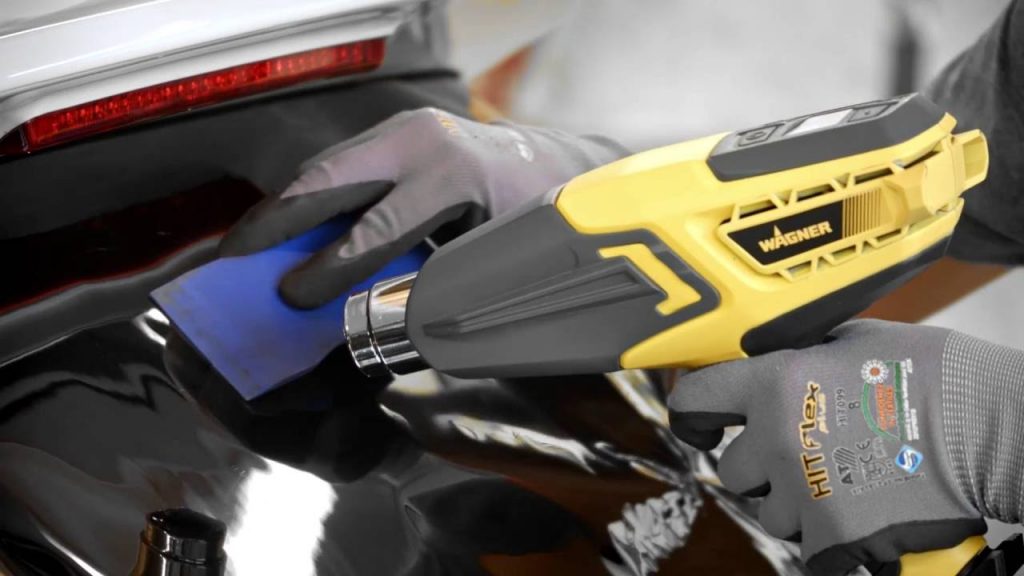
How to Apply the Film
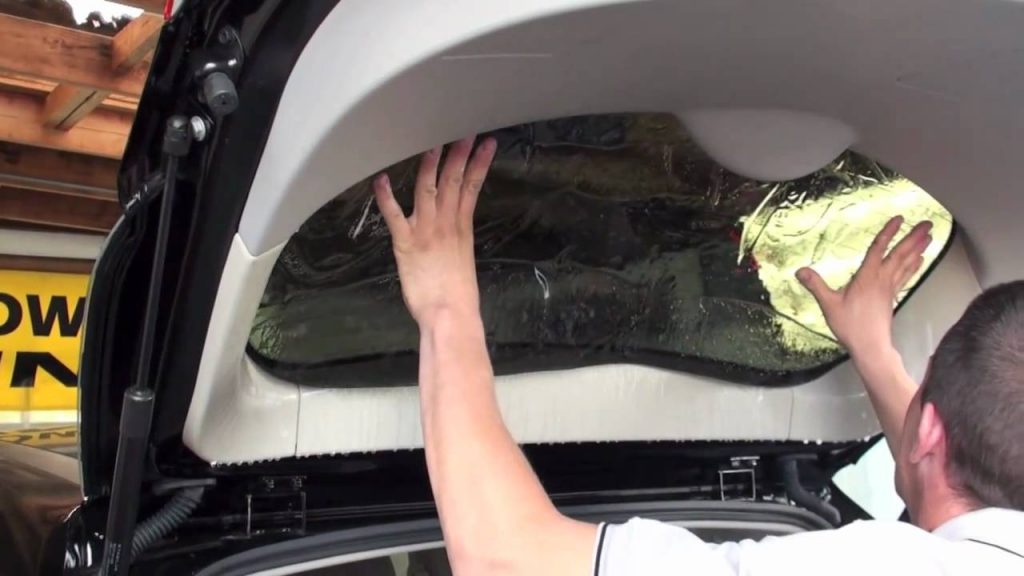
img source: ytimg.com
Now that your film is the right size, take it off the outside of the glass.
Spray the inside with soapy water and remove the film’s adhesive liner. Stick the film to the inside of your window and adjust it until it lines up with the edges.
Remember to tuck the bottom of the film into the bottom seal with your scraper blade.
Use your heat gun and scraper blade to push all the air and water bubbles to the sides. Even if you don’t see any bubbles, run your heat gun and scraper blade over it anyway.
Sometimes the air bubbles will become more noticeable when the film dries. So it’s important to remove them right away.
Learning How to Start Tinting Car Windows on Your Own

img source: supportseguros.com.br/
Tinting car windows is a delicate job. Remember to go slow and have patience. If you rush through it, you can end up with bubbled or distorted film.
If you don’t feel confident in your window tinting skills but still want to get the job done, talk to a professional. They’ll take care of the work and give you great results at the end of the day.
Sometimes it’s better to wait until you have a new car before you tint your windows. Why spend the money and the time on something you know won’t last much longer.
And don’t get discouraged if you don’t think you can afford a car.
There are always methods to help you save or find the right car for your budget. Check out more of our blog for tips about how to buy a new or used car!

